Windows Kernel Exploitation - VM Setup
In this series about Windows kernel exploitation, we will explore various kernel exploit techniques & targets. This topic is mainly something I studied to prepare for AWE. This short first part will deal with the VM setup for the rest of the series. I can not offer downloadable VMs so you will have to follow the steps outlined here to get a comparable environment.
OS Setup
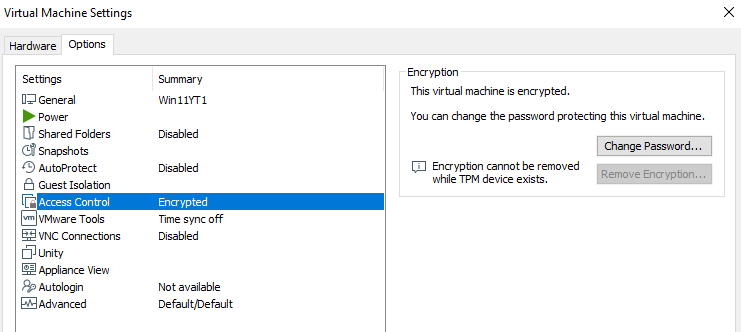
We will use Windows 11 for both the debugger and the debugger and everything will be running on VMware Workstation 16. To allow the installation of Windows 11 on VMWare, we will have to encrypt the VM:
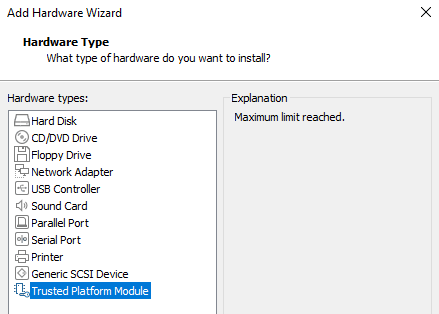
Then we add a TPM:
If you don’t have a Windows 11 ISO you can get a version here. Note that using Insider Preview is not a good idea since the symbols are not always fully available. After the installation is completed & all updates are installed, create a low-privileged user called user:
1
net user user user /add
We also want to disable the Windows Update Service (we don’t want gadgets to change because windows updates). Now we continue to install tools we will need later on.
WinDbgX
WindbgX (or Preview) can be installed for free from the Microsoft Store. We are not using python/mona so we won’t install it. After installing, start it once and set the symbol path in File->Settings->Debugging Settings to srv*c:\symbols*http://msdl.microsoft.com/download/symbols.
Other Tools
Other tools we install/download on this VM are Visual Studio, Visual Studio Code, rp++, Ida Free.
Duplicating the VM
After preparing our VM, we need to clone it (Right-Click on VM->Manage->Clone) in order to get a Debugger & Debuggee VM.
At this point, you should have 2 identical VMs. On older versions of windows, we would have to modify the .vmx files in order to allow debugging via serial port – as this is all Windows 10+ we can, however, debug everything nicely via TCP/IP.
Setting up Kernel Debugging
First, we set up proper networking. In my case both VMs have a NAT adapter for internet access & an additional adapter to communicate (VMNET-X):
- Debugger VM: 172.16.0.100
- Debuggee VM: 172.16.0.101
On the debuggee VM:
1
2
bcdedit /debug on
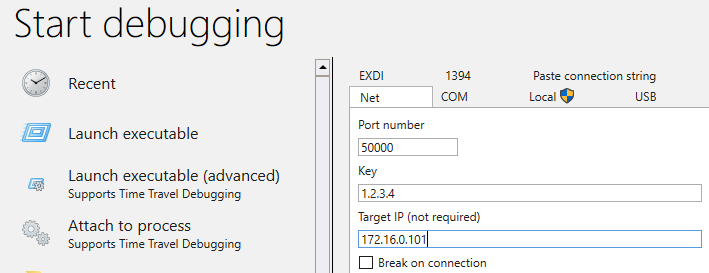
bcdedit /dbgsettings net hostip:172.16.0.100 port:50000 key:1.2.3.4
On the debugger VM we just have to start WinDbgX and attach it to the kernel:
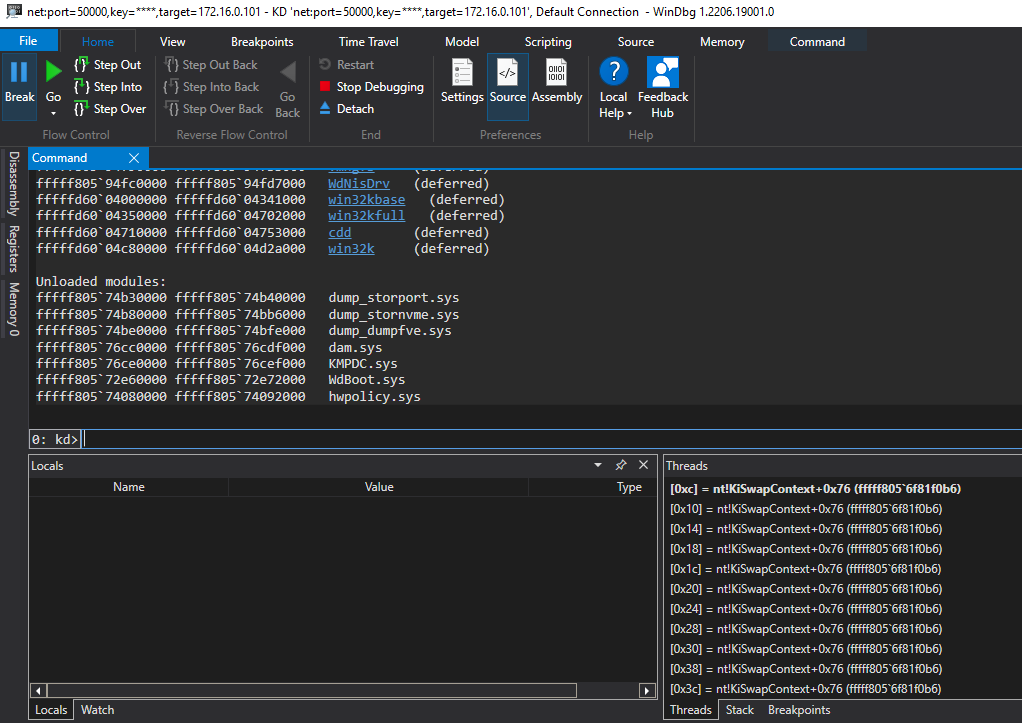
After a restart of the debuggee WinDbgX automatically attaches and breaks for us:
1
2
3
4
5
6
7
8
9
10
Connected to Windows 10 22000 x64 target at (Fri Jul  1 02:29:02.526 2022 (UTC - 7:00)), ptr64 TRUE
Kernel Debugger connection established.
Symbol search path is: srv*
Executable search path is:
Windows 10 Kernel Version 22000 MP (1 procs) Free x64
Edition build lab: 22000.1.amd64fre.co_release.210604-1628
Machine Name:
Kernel base = 0xfffff804`27000000 PsLoadedModuleList = 0xfffff804`27c29650
System Uptime: 0 days 0:00:02.213
KDTARGET: Refreshing KD connection
We continue with g and continue the startup. At this point our setup is complete and we create a snapshot on both VMs (with the debugger running). Finally to make sure everything is working we start notepad.exe on the debuggee VM & then see if we can debug it:
1
2
3
4
5
6
7
8
9
10
11
!dml_proc
...
ffff9485`c0f26080 23c8 Notepad.exe
...
.process /i ffff9485c0f26080 Notepad.exe
g
!process
PROCESS ffff9485c0f26080
    SessionId: 1  Cid: 23c8    Peb: 5fab251000  ParentCid: 10ec
    DirBase: 1aec4a000  ObjectTable: ffffa80fb00d0800  HandleCount: 257.
    Image: Notepad.exe
At this point, everything is working as expected and we can start looking at exploitation in the next post.
Note that under normal circumstances you can not load any unsigned drivers like HEVD on windows 11 – however when a kernel debugger is attached, this is not true anymore.


